I like lovin,’ but I LOVE lichen.
Sorry. Had to get that out of my system. Lichens have entranced me since I was little. Something about their structure suggests Middle Earth…in miniature. How can anyone resist?

Can’t you just see teensy elves scooting around down in that forest? (Except they’d have been crushed under that footprint. Lichens are FRAGILE.)
Specifically, I’m talking Reindeer Lichen, available all over the US.

This stuff.
Somewhere in my childhood I discovered a way to turn this fantastical “composite organism of algae and/or cyanobacteria living symbiotically among filaments of fungus” (thanks, Wikipedia–and ya gotta love symbiosis!!)…into fantastic ornaments, tiny magical worlds.
I know–I’m a writer, not a craftsperson. But this is one craft I’ve perfected, and I would LOVE to teach you .
What you’ll need:
- an egg
- bits of lichen in fascinating shapes (aren’t they all?)
- cute rubber or plastic animals (if you want something peeking out of the scene)…or TEENY dolls would work too, why not?
- tweezers
- tiny sewing scissors, or nail scissors
- tissue
- Elmer’s glue
- glitter or watercolor paints
- decorative braid or ribbon (see visuals)
- needle and thread
- newspaper or something to put all this on so you don’t schmutz up your table
What to do (Disclaimer: I am NOT the kind of super-helpful film-it-YouTube-it DIY instructor we all love best. No videos here. But it’s tree ornaments, not rocket science. I have faith in you):
- With the tiny scissors, tap the side of the egg till you make a small hole. (Think baby birdie, from the other side of the shell.)
- When you can insert the tip of the scissors into the hole, begin cutting in a circular motion around the edge of the hole, VERY gradually enlarging it as you go around and around. DON’T cut too far or the egg will crack.
- Keep rotating your cut, enlarging that hole, until it’s big enough for the egg to slide out. It should now be an oval most of the length of the egg.
- Save the egg for…whatever you like to do with eggs.
- GENTLY rinse out the inside, and GENTLY dry it with a piece of tissue. (Allow the membrane to stay; it will make the next steps easier.
- Let the egg sit and air-dry for a while. Go about your business.
- When it’s dry enough to accept paint or glue, make a choice: paint inside, or glitter? Here are a couple of examples:

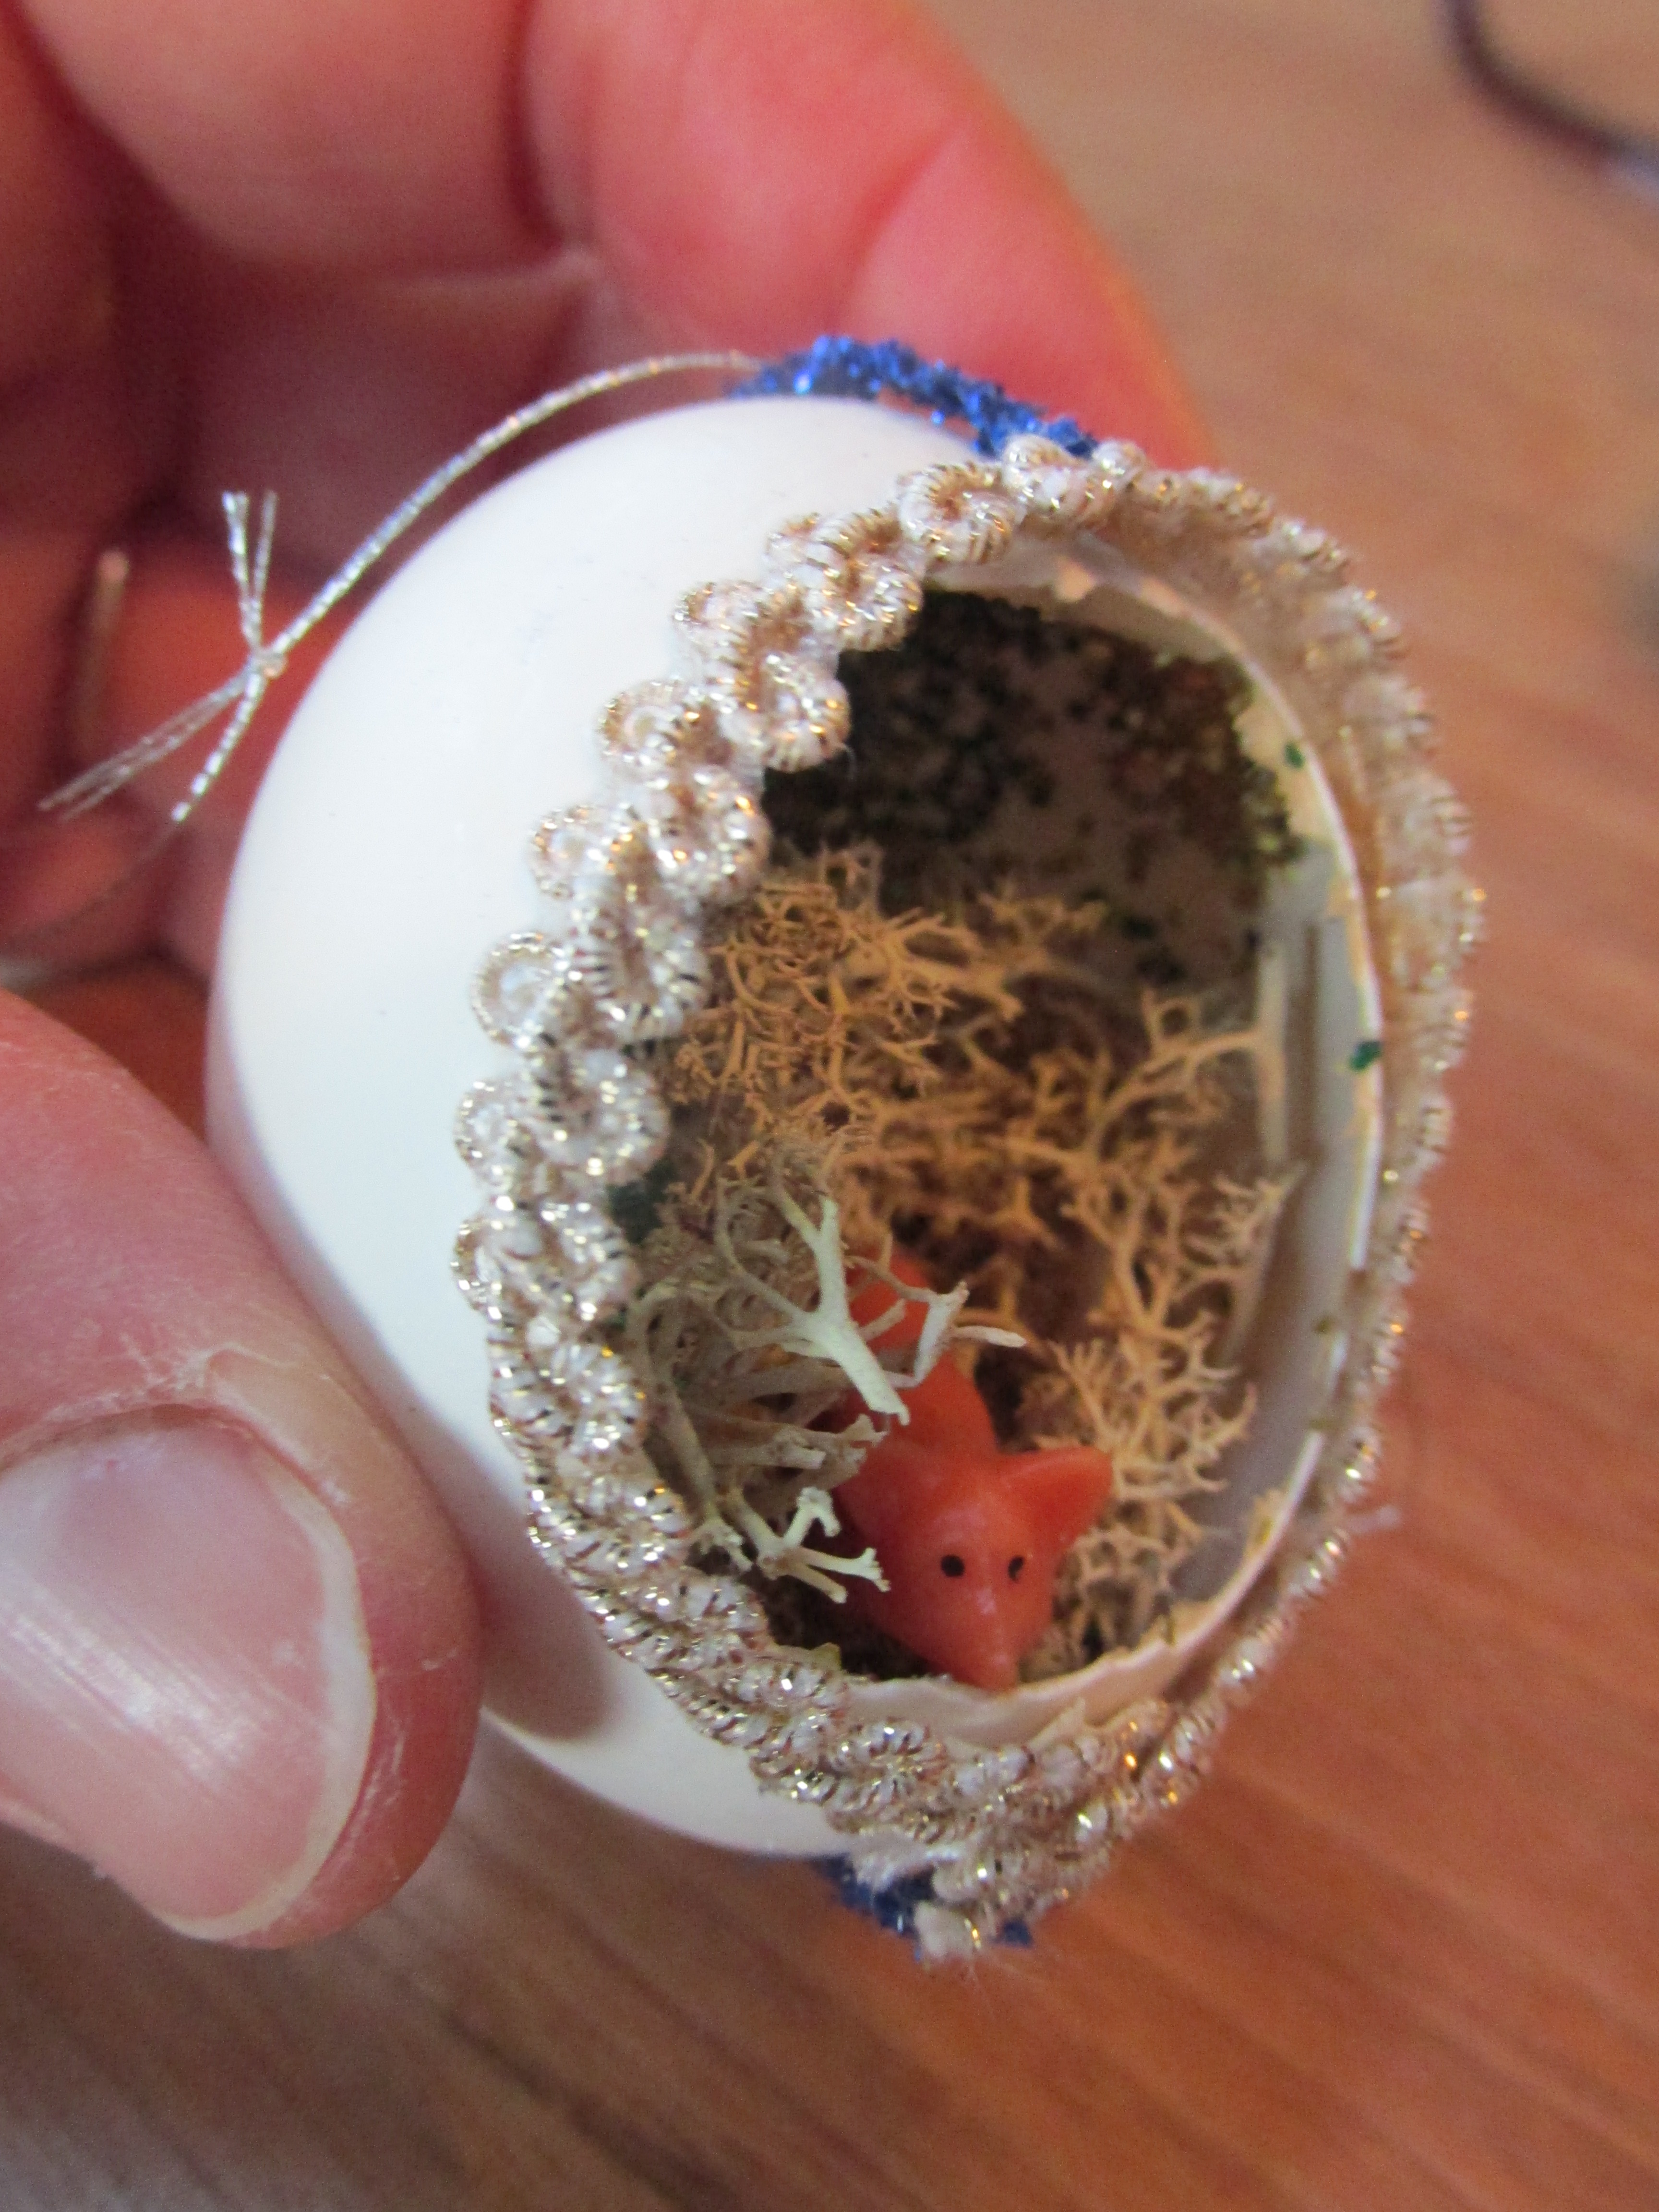
I used watercolors here to create an Australian-colored background for the koala.
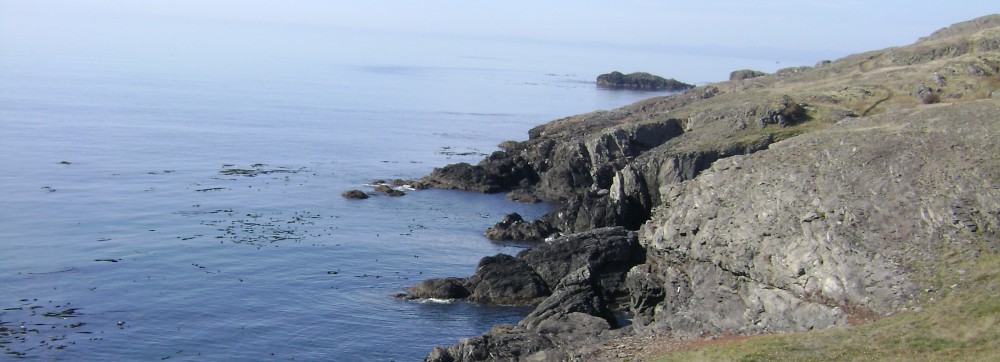
But this hedgehog wanted more glitz.
Or you can use glitter to set the scene: gold on top for sunlight, blue below for sky…etc. Go wild. Remember: you don’t need to color the bottom of the interior, as it will be covered.
8. Paint the inside with paint, or smear it with glue and pour in glitter for background. Let your background dry.
9. Select a piece of lichen of the right size (bush? tree?) and dip its back and bottom into glue. Using the tweezers, gently insert it into the egg. Add other bits of lichen (or moss, or tiny dried flowers) to create your scene.
10. Dip your tiny creature’s back into glue and stick it into the scenery. Imagine its delight. Let the whole thing dry before proceeding.
11. Cut a strip of decorative braid to fit around the circumference of the hole. Swish it through some glue (to get glue only on the back), and then CAREFULLY align it around the edge of the hole, edges meeting at the bottom. Wipe off any extra glue smudges with damp tissue.
12. Let this dry sitting up. The egg container is useful for this.
13. Cut another strip of braid or ribbon to go around the back of the egg, vertically. Glue it as you did the first strip.
14. When dry, use needle and thread to pierce the top ribbon and create an almost-invisible loop of thread to hang your ornament.

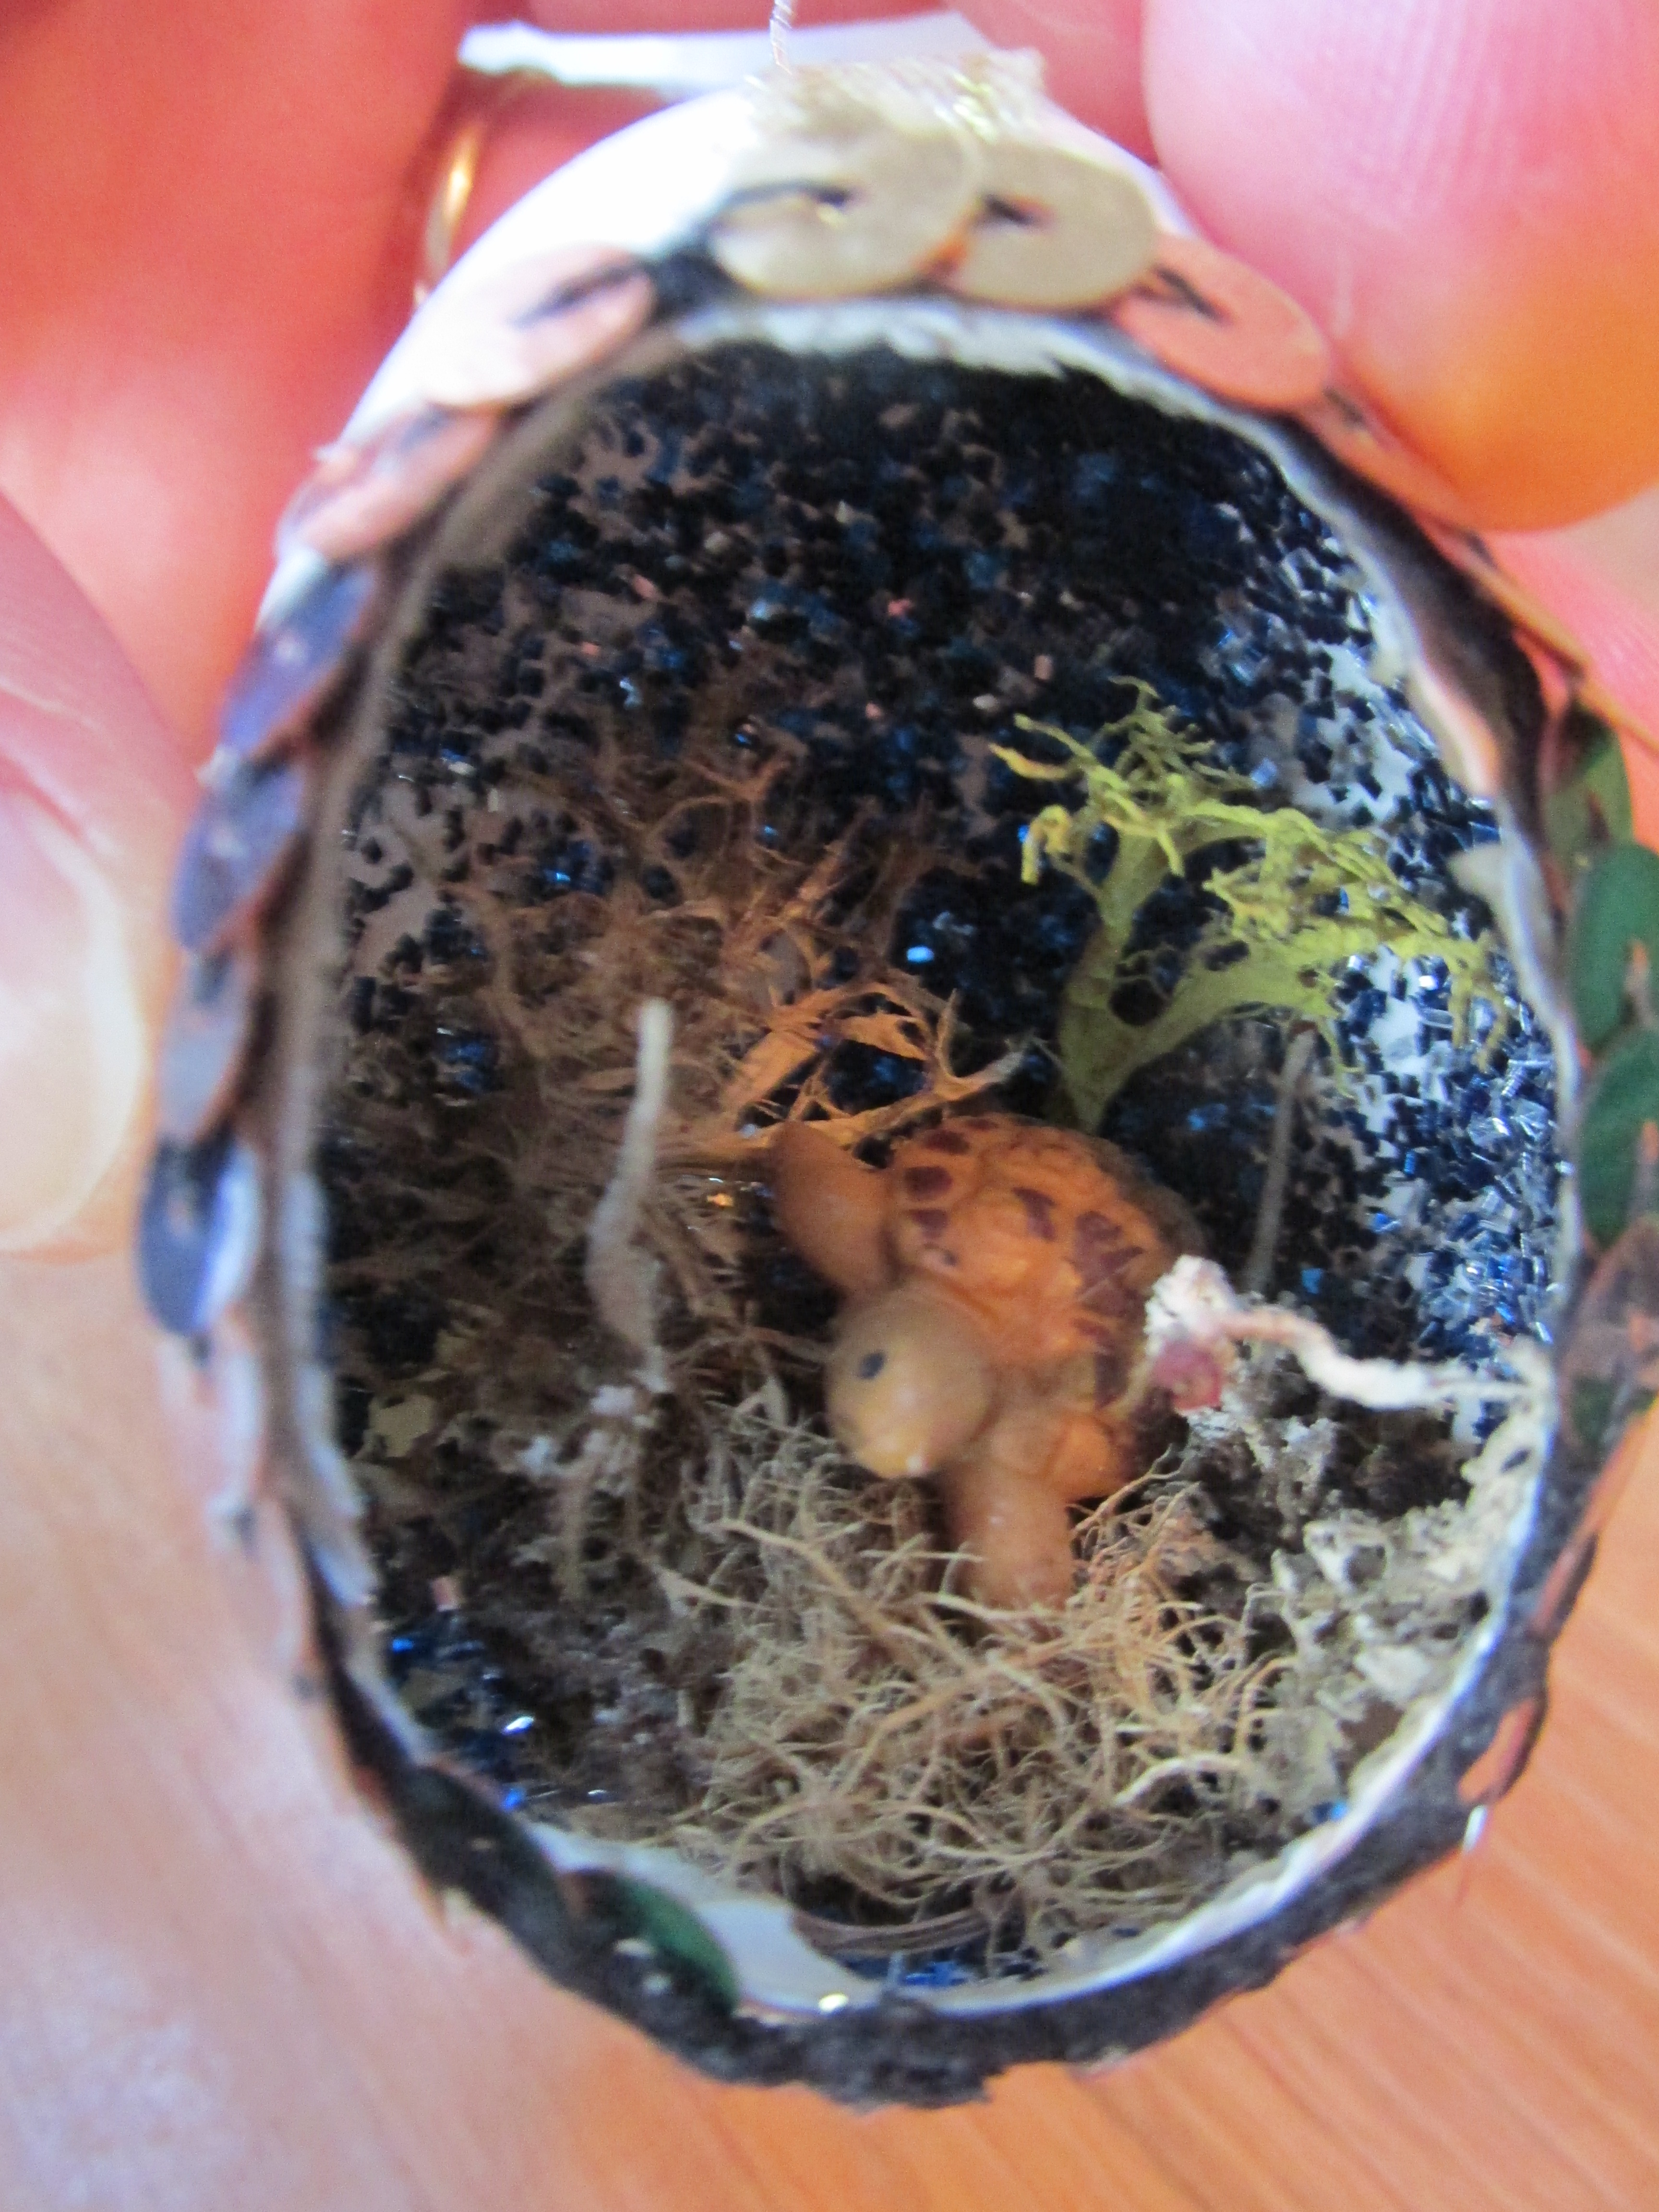
Blowfish? Marine colors!
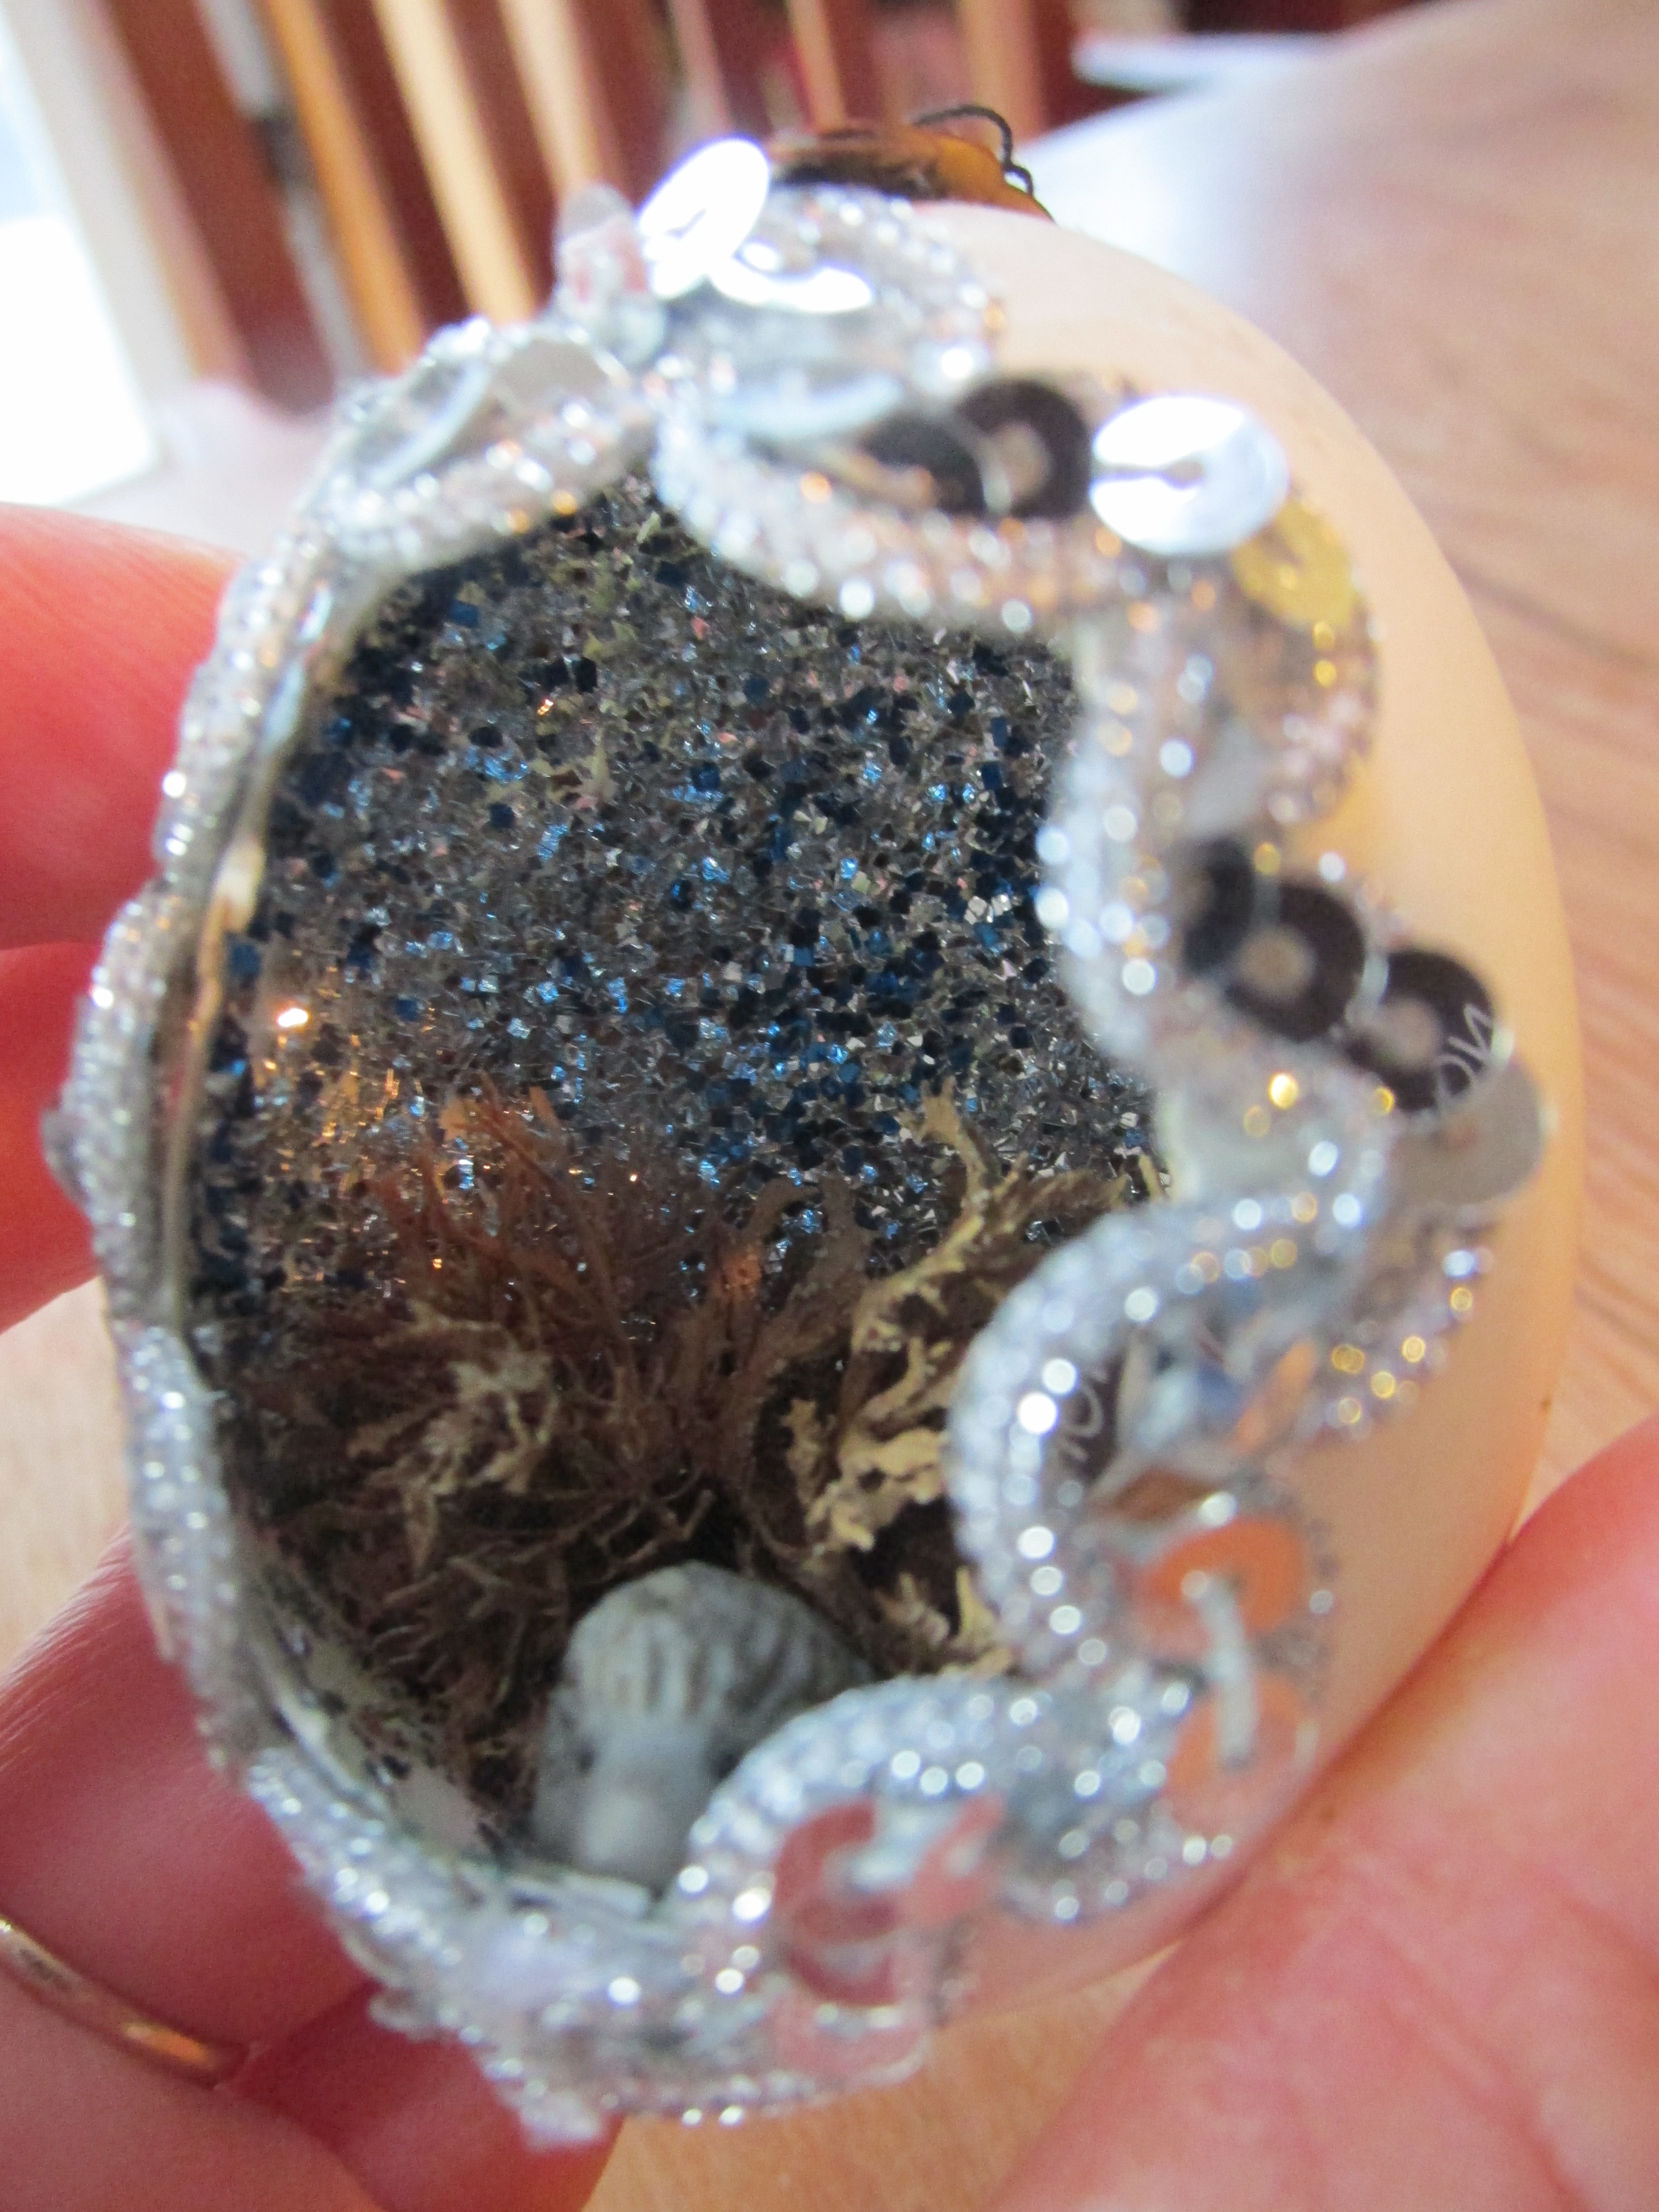
Try positioning your creature to peep out of the egg!

I’m kind of in love with this one, even though I added artificial flowers.
OK, I think you get the idea.
Lichen it? Ready to make one yourself? If you do, please send me a picture!

This is AWESOME!!!!! they are sooooo cute!!! Nice work and y’er pretty darn crafty if ya ask me :0 Cheers
Thanks…now that I know when your birthday is, you might just get one next year! 🙂
Gretchen, I cannot for the life of me figure out how you have time to read and write.
Well, just imagine how much MORE I would have read and written if I hadn’t been making ornaments! But I made these some years ago, not recently.
I did not knew that reindeer lichen is available all over the USA. I have been in Florida, California and Nevada, but I have not seen it there. In Finland, we have:
Reindeer Lichen
Merry Christmas.
Ah yes, I imagine reindeer lichen in Finland! Very appropriate. I don’t know about Florida or Nevada, but I grew up in North Carolina, and we had it there. (That’s where I learned to make these ornaments.) In California, you’d find it up north, in the redwood areas and places where there’s more humidity. Thank you for visiting Wing’s World!